
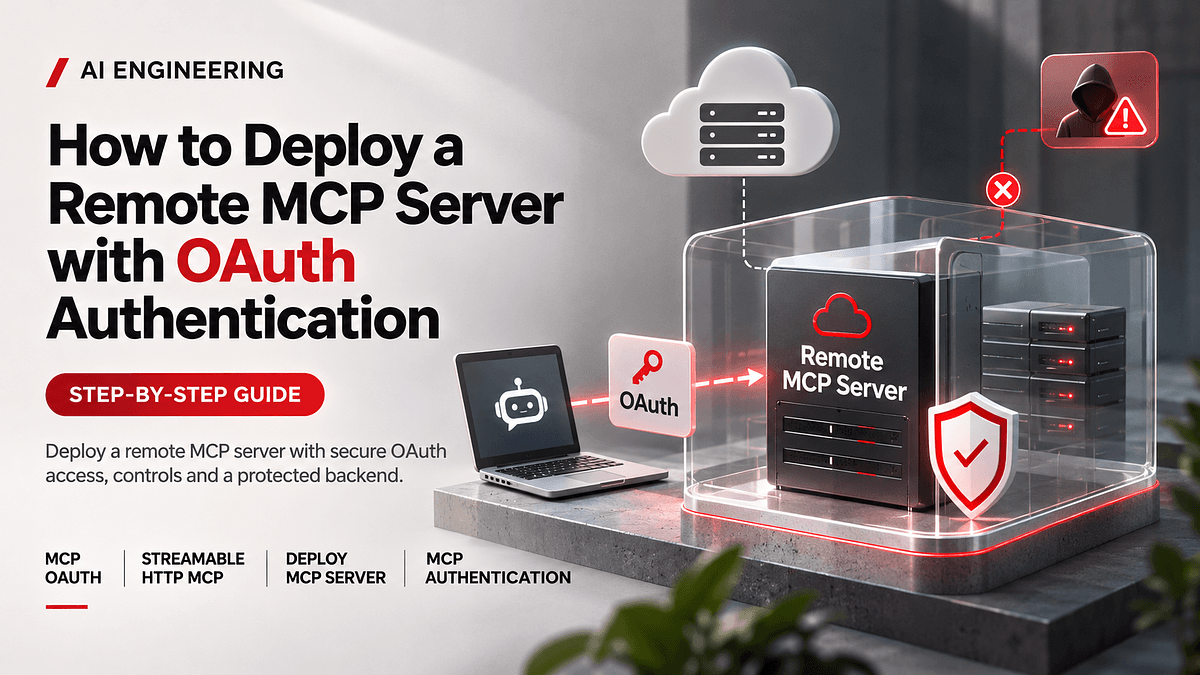
Local MCP servers run on each user's machine, which works for individual developers but creates problems for teams and web-based AI clients. Every user must install and update the server, credentials live on many laptops, and browser-based clients cannot launch local processes at all. A remote mcp server solves these problems by running once in the cloud, accessible over HTTP, with proper user authentication. This tutorial walks through deploying a remote MCP server using the Streamable HTTP transport and securing it with OAuth, step by step.
Start with the architecture so each step makes sense.
Remote MCP Architecture
A remote MCP setup has three parts:
- The MCP client, such as Claude, ChatGPT connectors or another assistant, which connects to your server URL.
- Your MCP server, which exposes tools over HTTP using the Streamable HTTP transport.
- An authorization server, which authenticates users and issues access tokens.
Streamable HTTP MCP uses a single HTTP endpoint that accepts JSON-RPC messages via POST requests and can stream responses back using server-sent events when needed. It replaced the earlier HTTP with SSE transport and is the recommended approach for remote servers.
How MCP OAuth Works
The MCP authorization specification builds on OAuth 2.1. In simple terms:
- The client tries to connect to your server without a token.
- Your server responds with 401 Unauthorized and points to metadata describing which authorization server to use.
- The client discovers the authorization server, registers itself if needed, and opens a browser login for the user.
- The user signs in and approves access.
- The client receives an access token and includes it in every request.
- Your server validates the token before executing tools.
PKCE protects the authorization code exchange, and tokens are scoped to your server, so a token issued for one service cannot be reused elsewhere.
What You Need
- A working MCP server, such as one built with the TypeScript or Python SDK.
- A hosting platform that supports long-lived HTTP connections, such as Cloudflare Workers, Vercel, Fly.io, Railway or a container platform on a major cloud.
- An identity provider supporting OAuth 2.1, such as Auth0, WorkOS, Stytch, Keycloak, Okta or a provider-specific library.
- A domain with HTTPS.
Step 1: Switch to the Streamable HTTP Transport
In your server code, replace the stdio transport with the SDK's Streamable HTTP transport. With the TypeScript SDK, you create an HTTP server, for example with Express, and route requests at a path such as /mcp to the transport's request handler.
Decide whether your server is stateless or stateful. Stateless servers handle each request independently and scale easily. Stateful servers maintain sessions using a session ID header, which is useful for tools that need continuity but requires sticky sessions or shared storage when scaling.
Test locally by running the server and connecting with the MCP Inspector, choosing the Streamable HTTP transport type and entering your local URL.
Step 2: Choose an Authorization Approach
You have two common options:
Use an external identity provider. Your MCP server acts as a resource server, validating tokens issued by the provider. This is the most secure and maintainable option for most teams.
Use a platform library. Some hosting platforms provide OAuth provider libraries designed for MCP, handling discovery, dynamic client registration and token issuance with minimal code.
Avoid building your own authorization server from scratch unless you have strong security expertise.
Step 3: Publish Protected Resource Metadata
Your server must tell clients where to authenticate. Implement the protected resource metadata endpoint at the well-known path defined by the specification, returning JSON that includes your resource identifier and the authorization server URL.
When an unauthenticated request arrives, return 401 with a WWW-Authenticate header referencing this metadata. Clients use it to begin the OAuth flow automatically.
Step 4: Configure the Authorization Server
In your identity provider:
- Create an API or resource representing your MCP server, with an identifier matching your server URL.
- Enable the authorization code flow with PKCE.
- Enable dynamic client registration if your provider supports it, so MCP clients can register automatically; otherwise, pre-register known clients.
- Define scopes for your tools, such as notes read and notes write.
- Configure allowed redirect URIs for the clients you support.
Step 5: Validate Tokens in Your Server
Add middleware that runs before the MCP handler:
- Extract the bearer token from the Authorization header.
- Validate the signature using the provider's public keys, typically fetched from its JWKS endpoint.
- Check the issuer, expiry and audience, ensuring the token was issued specifically for your server.
- Check scopes required for the requested tool.
- Attach the user identity to the request so tools act on behalf of the correct user.
Reject invalid tokens with 401 and insufficient scopes with 403.
Step 6: Deploy
Deploy to your chosen platform with environment variables for provider settings and any API credentials your tools need. Make sure your platform supports request durations long enough for streaming responses. Enable HTTPS, which is mandatory for OAuth.
Visual description: after deployment, your platform's dashboard shows the service running with a public URL, such as https://mcp.yourcompany.com/mcp.
Step 7: Connect a Client
In an MCP client that supports remote servers, add a custom connector with your server URL. The client detects that authentication is required and opens a browser window with your identity provider's login page. After signing in and approving access, the client lists your tools.
Test each tool, then test with a second user account to confirm users only access their own data.
MCP Server Security Checklist
Mcp server security requires attention beyond authentication:
- Validate the token audience to prevent token reuse from other services.
- Never pass client tokens through to downstream APIs; use separate credentials for your server's own API calls.
- Validate the Origin header to protect against DNS rebinding attacks.
- Apply rate limiting per user.
- Log tool calls with user identity for auditing, without logging sensitive data.
- Mark destructive tools clearly with annotations and keep them scoped.
- Treat tool inputs as untrusted and validate them.
- Keep dependencies updated.
Troubleshooting Common Issues
Client does not start login: check that the 401 response includes the WWW-Authenticate header and that the metadata endpoint is reachable.
Invalid audience errors: ensure the resource identifier in the provider exactly matches your server URL.
Redirect URI mismatch: add the client's redirect URI to the provider's allowed list.
Streaming responses cut off: increase platform timeouts or use a host that supports long-lived connections.
Works locally but not deployed: confirm HTTPS, environment variables and CORS settings.
Frequently Asked Questions
Do I need OAuth for an internal server? For anything beyond personal use, yes. Authentication ensures only authorized users can trigger tools and enables per-user permissions.
Can I use API keys instead? Some clients support static headers, but OAuth is the standard for user-facing remote servers.
Conclusion
Deploying a remote mcp server involves switching to the Streamable HTTP transport, publishing protected resource metadata, configuring an OAuth 2.1 authorization server, validating tokens with correct audience checks and deploying on a platform that supports streaming.
Key takeaways: use an established identity provider, validate audience and scopes, never pass through client tokens, apply rate limits and audit logs, and test with multiple users. Next, add fine-grained scopes for each tool and document the connection steps for your team.